I started on clean centos-8 server, created from netinstall cd. It is minimal instalation. So, lets begun. Check the version, to be installed:
dnf info httpd
Name         : httpd
 Version      : 2.4.37
 Release      : 11.module_el8.0.0+172+85fc1f40
So, let install it and allow http port on firewalld. And start apache server itself.
dnf install httpd
firewall-cmd --add-service=http --permanent
firewall-cmd --reload
systemctl start httpd.service
systemctl enable httpd.service
Now, you can point you web browser to IP on this server and you should see the welcome page of apache web server on centos.
Now create a directory, where we place our content and simple web page to test, if its working.
mkdir -p /var/www/vhosts/com.example.www
vim /var/www/vhosts/com.example.www/index.html
<html>
  <head>
    <title>Welcome to www.example.com!</title>
  </head>
  <body>
    <h1>Success!  The www.example.com virtual host is working!</h1>
  </body>
</html>
And now, create for this page own configuration in httpd:
vim /etc/httpd/conf.d/com.example.www.conf
<VirtualHost *:80>
    ServerAdmin admin@example.com
    DocumentRoot "/var/www/vhosts/com.example.www"
    ServerName www.example.com

ErrorLog /var/log/httpd/com.example.www-error_log
CustomLog /var/log/httpd/com.example.www-access_log common
</VirtualHost>
And now, gracefully restart your web server and point your browser to you domain: www.example.com (I edit my /etc/hosts to point this domain at my internal IP).
apachectl graceful
If you test page is working, lets begin with more thinks. We must install additional packages (software) for wordpress. Its mysql server and php. As mysql server, I use mariadb. Then create an initial configuration for mysql and create database for wordpress. I set no password for mysql.
dnf installmariadb-server mariadbsystemctl start mariadbsystemctl enable mariadbmysql_secure_installationSet root password? [Y/n] n Remove anonymous users? [Y/n] y Disallow root login remotely? [Y/n] y Remove test database and access to it? [Y/n] y Reload privilege tables now? [Y/n] y mysql -u root -pCREATE DATABASE wordpress;CREATE USER wordpressuser@localhost IDENTIFIED BY 'BESTpassword'; GRANT ALL PRIVILEGES ON wordpress.* TO wordpressuser@localhost IDENTIFIED BY 'BESTpassword'; FLUSH PRIVILEGES; exit;
When we find, which version of php will be standard installed, I decided to use another package sources and install newer php version 7.3
dnf info php
 Available Packages
 Name         : php
 Version      : 7.2.11

dnf install http://rpms.remirepo.net/enterprise/remi-release-8.rpm
dnf update
dnf install php73
dnf install php73-php-fpm.x86_64 php73-php-mysqlnd.x86_64
systemctl start php73-php-fpm.service
systemctl enable php73-php-fpm.service
ln -s /usr/bin/php73 /usr/bin/php
php -v
   PHP 7.3.10 (cli) (built: Sep 24 2019 09:20:18) ( NTS )
Now, create simple test php page, to view php by apache if its working.
vim /var/www/vhosts/com.example.www/foo.php
<?php
  phpinfo();
?>
Restart apache web server and point your browser to php:
systemctl restart httpd.service
www.example.com/foo.php
And now you can see informationa page about php on system.
Now we can download wordpress and unpack it.
cd ~wget http://wordpress.org/latest.tar.gztar xzvf latest.tar.gzrsync -avP wordpress/ /var/www/vhosts/com.example.www/ chown -R apache:apache /var/www/vhosts/
Now, we edit configuration and add directory variables about default loding index.php. And remove test files – foo.php, index.html.
rm /var/www/vhosts/com.example.www/foo.php
rm /var/www/vhosts/com.example.www/index.html
vim /etc/httpd/conf.d/com.example.www.conf
<Directory /var/www/vhosts/com.example.www>
DirectoryIndex index.php
</Directory>
And restart apache web server
systemctl restart httpd.service
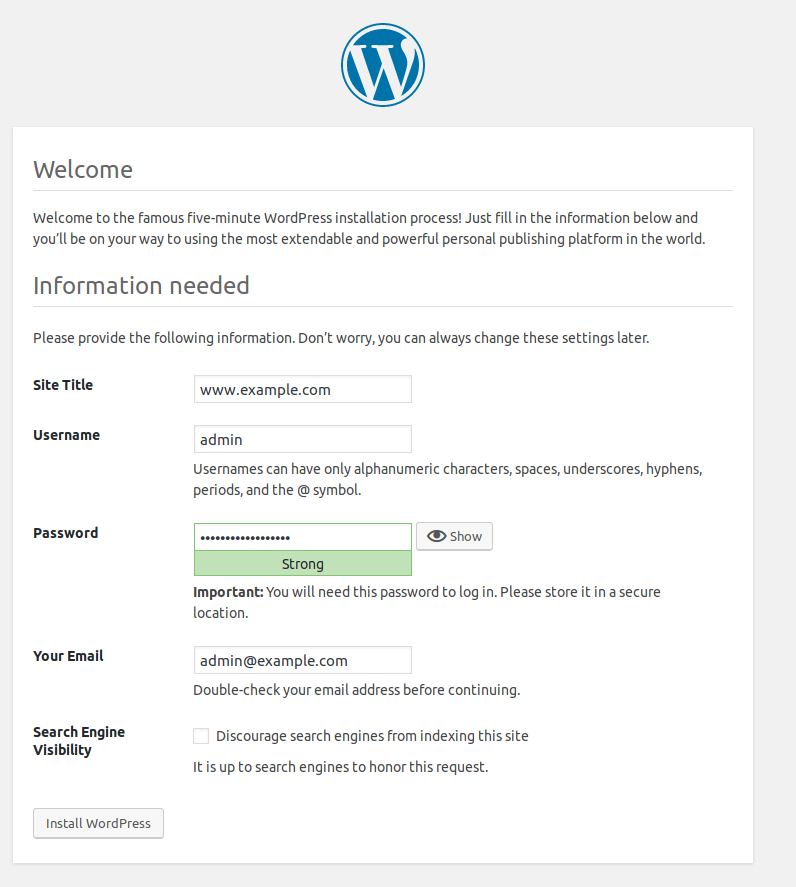
Now we can continue with setting our wordpress via web browser and our www.example.com page (click refresh in your web browser). Follow the instructions and fill your variables (database name, user, password…).
My installation step 2 tells me, that it cannot write config.php in our content directory. So, I can manually creaty config.php, or find out, what happens. Install selinux troubleshoot packages and run command sealert, which tell us what happend.
dnf install setroubleshoot
sealert -a /var/log/audit/audit.log
I can see this messages:
SELinux is preventing /opt/remi/php73/root/usr/sbin/php-fpm from write access on the directory com.example.www.
If you want to allow php-fpm to have write access on the com.example.www directory
Then you need to change the label on 'com.example.www'
Do
# semanage fcontext -a -t httpd_sys_rw_content_t 'com.example.www'
# restorecon -v 'com.example.www'
Additional Information:
Source Context                system_u:system_r:httpd_t:s0
Target Context                unconfined_u:object_r:httpd_sys_content_t:s0
Target Objects                com.example.www [ dir ]
So I do, what it want. I adapt permissions, that apache/php can write into this diretory.
semanage fcontext -a -t httpd_sys_rw_content_t '/var/www/vhosts/com.example.www(/.*)?'
restorecon -Rv /var/www/vhosts/com.example.www/
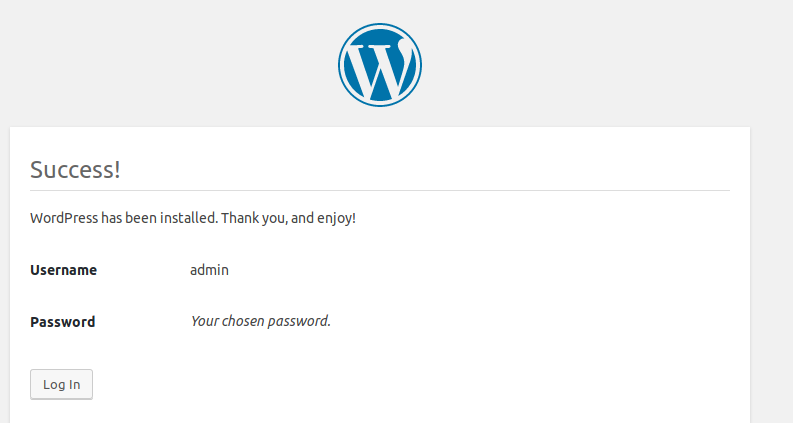
Now I can continue with installation. And everything works fine. Have a nice day.